QUICK START GUIDE:
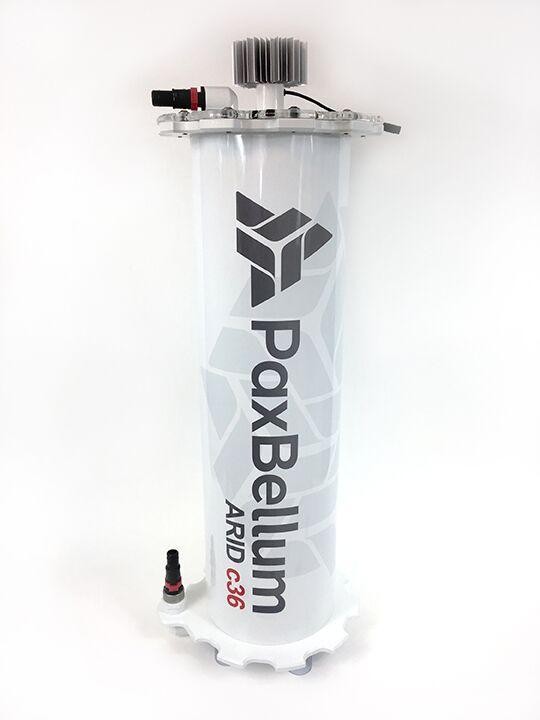
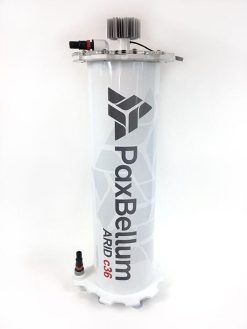
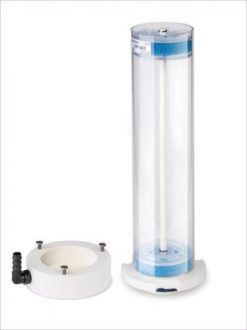
1) Carefully unpack all of the contents from the box and ensure that all the parts shown are present.
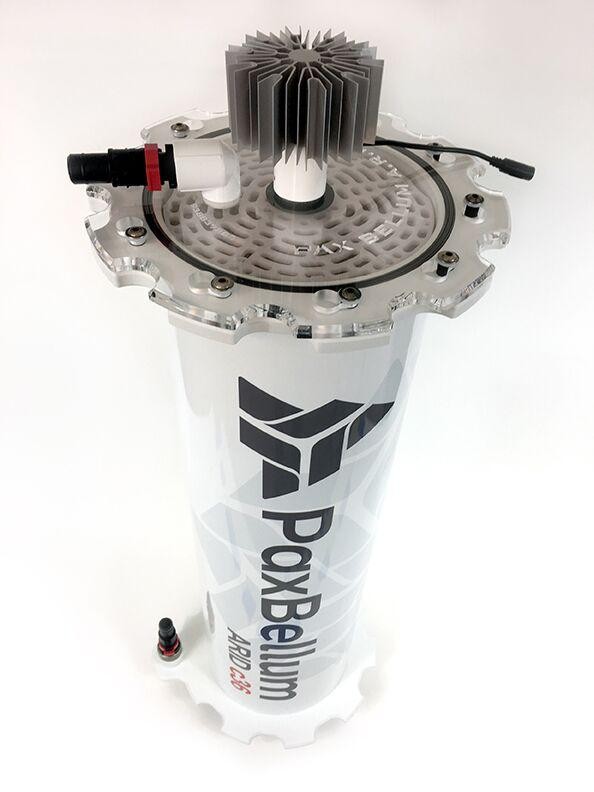
2) Locate the power supply, power cable, and LED array. Plug the male end of the power supply into the female and of the LED array.
3) Plug the power cable into the power supply and the other end into a standard 110-220 volt wall receptacle. Check that all LEDs light properly.
4) Place the power supply close enough to the reactor so that it can be plugged into both a power receptacle and your ARID reactor. Ensure that the power supply is not close to an open water source and is protected from any water spray. Placing the power supply in an unsafe location can lead to permanent damage of your reactor’s components.
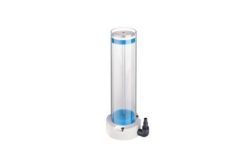
5) Plumb your ARID reactor into your system. Your reactor requires 400-600 GPH of flow (a Panworld 40px/50px is recommended). Your ARID reactor should be plumbed with fittings that are no less than 1/2″ ID. Your ARID reactor is designed with a bottom up flow pattern; connect feed pump to the bottom fitting of your ARID reactor using either flexible vinyl tubing or rigid PVC. Be sure that there are no blockages or obstructions. A ball valve can be used between these connections for precise water control.
6) While holding the armature over the body of the ARID reactor, add approximately 2-3 large handfuls of Chaetomorpha algae into the open segment of the armature. Place several small clumps of algae within the plastic wrap spirals within each section. These spiral wraps will hold the algae in place.
7) Carefully load the armature into the body of the reactor.
8) Check the surface of the body o-ring to ensure that it is clean of any debris or strands of algae.
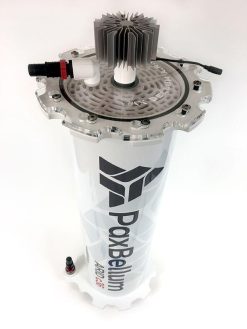
9) Secure lid by twisting it clockwise until it stops. Tighten thumbscrew securely. CAUTION: Thumbscrews may break if over-tightened!
10) Connect flexible vinyl tubing to the output fitting on the lid and place other end into the sump. Ensure that the plumbing is secure and that there are no blockages.
11) Turn on the flow to reactor and check for leaks around o-ring.
12) Using a timer or controller, create a schedule for your ARID reactor’s lighting system. The reactor should be on a “reverse daylight” schedule from that of your display aquarium. It is best if your reactor turns on 1 hour before the display tank lights turn off, and remains on 1 hour after they turn off. Be sure to plug the power supply into the timer or appropriate socket of your controller.
Specifications:
Recommended size Aquarium: 300-1000 gal aquarium
Recommended Flow Rate: 400-600 Gph
Recommended Pump: Pan World 40px/50px or equivalent
Body Material: PVC construction
Total footprint: 13″ x 12″
Total Height: 36.5″
Inlet/Outlet port size: 3/4″ FNPT
LED power consumption: 110V/ 42 Watts (The supplied power supply can handle 220v input power with the use of a simple adapter cord to connect to the wall socket- Mainly for European use)
Allen key tool is included with unit. Algae and pump are not included. Shipping is included with this unit.
